
Lower back pain is a prevalent complaint among many. Though aging tends to bring this type of discomfort on, even younger individuals can suffer from it, especially if they work desk jobs and sit all day.
Unfortunately, much lower back pain is so uncomfortable that it interferes with everyday life and positive thinking. At that point, you may want to begin taking measures to help release the tension in your back muscles. The best way to do this, naturally, is with stretches.
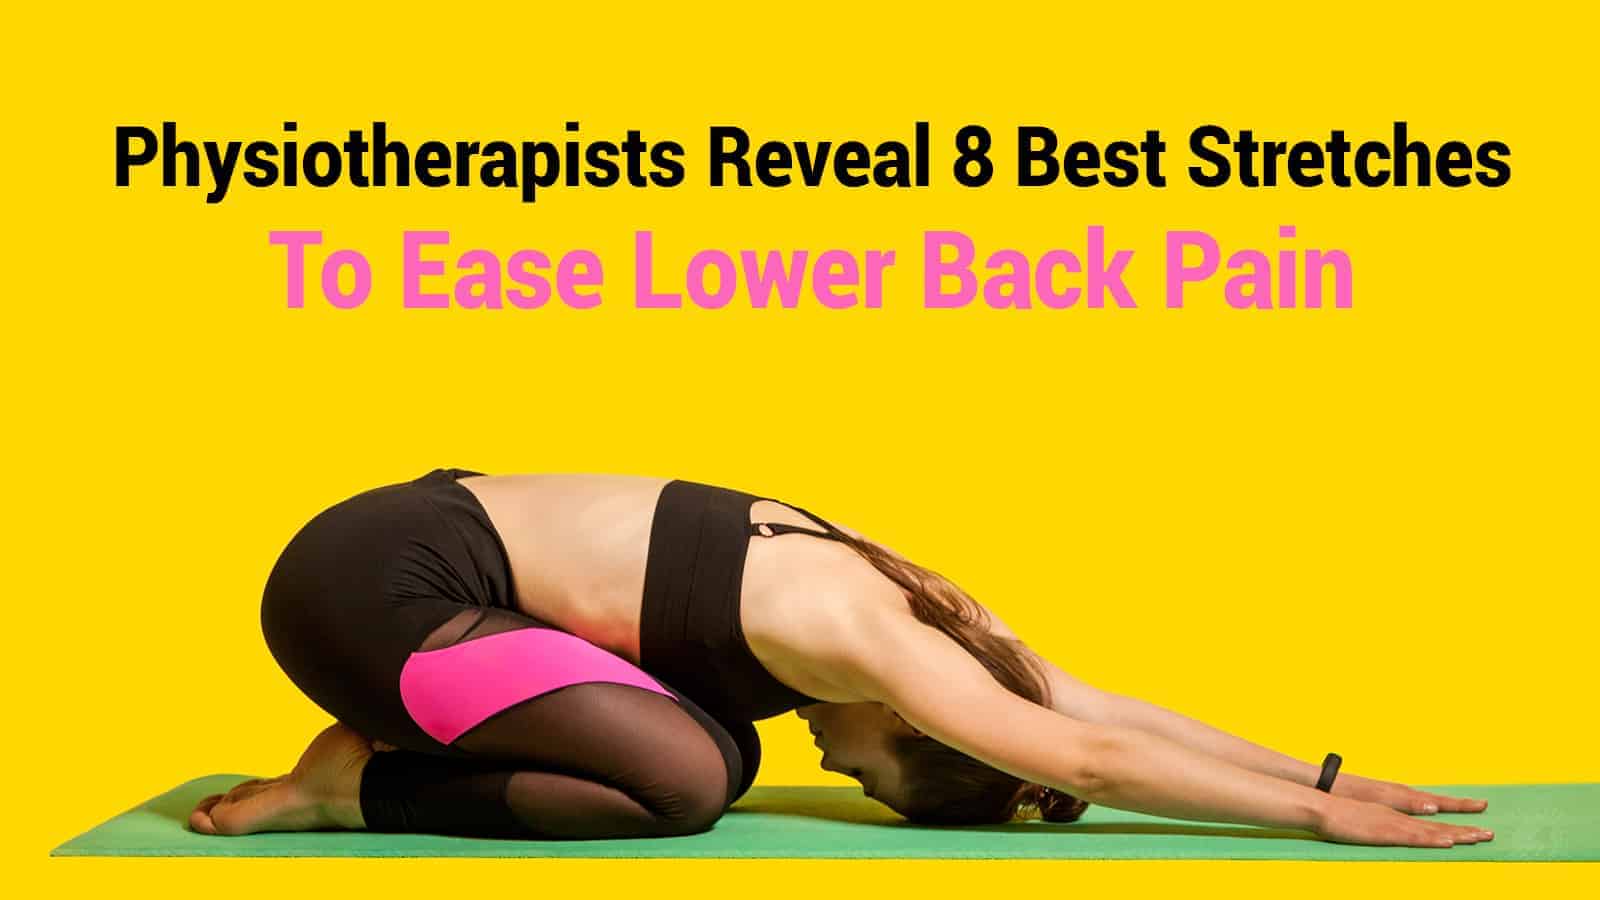
Stretches are gentle forms of exercise that lengthen the muscles and decompress them, allowing them to relax better and return to former flexibility. A good number of these exercises are particularly suited to the lower back pain and its surrounding area. Here’s how physiotherapists reveal the eight best stretches to ease lower back pain. For those seeking professional guidance, NDIS physiotherapy Melbourne provides expert support to ensure exercises are safe, effective, and tailored to individual needs.
1. Seated Forward Bend
 This exercise works out the rear thigh muscles, known as the hamstrings. It helps to release spinal tension while reducing the contraction of the hamstrings.
Studies show that too-tight hamstrings can lead to an increased risk of injuries and pain in the lower back. As such, doing this stretch can have a positive effect on any back pain you experience.
Here’s how to do it!
- Begin by sitting on the ground with your legs straight in front of your body.
- Take a bath towel (standard size) and hook it around your heels.
- Bend forward slowly, hinging at the hip, until your stomach touches your thighs, pulling at the towel to help you get there.
- Maintain a straight back as you do this. Stretch gently until you notice lower back and leg tension.
- Maintain the position for 30 seconds.
- Return to your starting position and allow a 30-second rest, if needed.
- Repeat the stretch three times.
Too easy or too difficult? Change where you grasp the towel to alter the tension. If the exercise becomes too easy for you, you can add to the amount of time spent in the stretch!
2. Child’s Pose
This pose is commonplace in the practice of yoga. It works by slowly stretching the lower back muscles, reducing pain from muscle contraction. It also helps boost spine mobility, says Doctor of Physiotherapy, physical therapist, and Orthopedic Clinical Specialist Fei Jiang.
Here’s how to do it!
- Begin on all four hands and knees. Place your knees apart at a little wider than your hips and place your hands right beneath your shoulders.
- Sit backward onto your legs, taking it slow, while you move your arms to reach forward.
- Gently bring your head downwards until your forehead touches the ground.
- Focus on lengthening your back, but don’t overstretch.
- Maintain the position for between 20 and 30 seconds.
3. Cat-Cow Pose
Yet another yoga pose, this stretch allows for boosted flexibility. Studies have found that improving flexibility can have significant positive effects on back pain, so this pose is a great way to get things going.
How does it work? Well, the cat-cow helps ease core muscle and lower back muscle tension, working on helping you gain flexibility in these areas. It’s a dynamic pose, pulling muscles in varying directions to engage them well.
Here’s how to do it!
- Begin on all four hands and knees. Place your knees right beneath your hips and your hands right beneath your shoulders.
- Slowly arch your back upwards as your head gently lowers forward. It would be best if you were pulling your stomach inwards towards your back.
- Maintain this part of the stretch, the Cat pose, for between five and 10 seconds. You should feel a gentle amount of lower back stretching.
- Now, reverse your position; bring your head upwards as your stomach and pelvis drop downwards, letting your back curve towards the ground.
- Maintain this part of the stretch, the Cow pose, for between five and 10 seconds.
- Return to your starting position.
- Repeat the cat-cow stretch between 15 and 20 times.
Not able to get on all fours right now? You can do a variation of the cat-cow at your desk, place your feet onto the ground, and keep your back straight while sitting on a chair. Rest your hands on your knees and get arching!
4. Trunk Rotation
The trunk rotation is a great stretch for boosting core muscle strength, including pelvic, back, and abdominal muscles. Jiang states that it also boosts spinal mobility, relieving lower back and trunk side muscle tension as it goes.
Here’s how to do it!
- Begin by lying on your back with your knees up at a right angle, as if you are sitting in a chair at the moment.
- Reach your arms outwards to the sides, fully extending them, keeping your palms face-down.
- Roll your knees, both still bent, to the right side of your body. Make sure your knees stay together, and your palms are on the ground.
- Maintain the position for between 15 and 20 seconds.
- Return to your starting position.
- Do the same exercise again, this time rolling your knees to the left.
- Continue to repeat, alternating between right and left, for between five and 10 times on each side.
5. Supine Figure 4
This stretch is, once again, a yoga pose, though slightly lesser-known. If you’re wondering why so many yoga poses are on this list, it’s because studies indicate that it is a positive and viable treatment for different kinds of back pain!
So, how does the Supine Figure 4 work? Simply put, it helps the lower back to feel relaxed as the hips open. Y7 instructor Hilary Wright states that the pose is good for stretching the piriformis and outer glute muscles, which can both become tense and affect contractions in the lower back.
Here’s how to do it!
- Begin by lying on your back with your feet pressed to the ground and your knees bent.
- Gradually raise your right leg, bringing it over, so your right ankle crosses over your left thigh. Keeping your right foot well-flexed.
- Increase the intensity by pulling in your left knee and gripping the area at the back of your left thigh. Skip this step if it is too difficult for you.
- Maintain the position for between 10 and 15 seconds.
- Please do the same exercise again, this time raising your left knee, bringing it over so your left ankle crosses over your right thigh.
- Continue to repeat, alternating between sides, as many times as you like.
6. Pelvic Tilt
Many people who experience lower back pain also find their pelvis feels stiff and difficult to move. To counter that, the pelvic tilt helps relax those muscles while still working on the compression of back muscles and improving flexibility.
Here’s how to do it!
- Begin by lying on your back with your feet pressed to the ground, your knees bent, and your arms resting at your sides.
- Slowly raise your lower back into an arch, focusing on keeping your core stable as you push your belly outwards.
- Maintain the position for between five and 10 seconds.
- Relax.
- Now, raise your pelvis a little bit, moving it upwards, so it is pushed towards the ceiling, but without ever leaving the ground.
- Tighten the muscles of your buttocks and abdominals, pressing your back into the ground.
- Maintain the position for between five and 10 seconds.
- Relax.
- Return to your starting position.
- Repeat the bridge stretch between 10 and 15 times daily, working your way up to between 25 and 30.
7. Bridge
The bridge is a great way to see softened and lengthened sit bones, allowing for more flexibility and ease. According to Wright, it also helps activate the gluteus maximus, specifically its lower portion, used in back support.
Here’s how to do it!
- Begin by lying on your back with your feet pressed to the ground and your knees bent. Keep your heels near to your glute muscles.
- Press your feet downwards, using the force to help raise your hips upwards.
- Relax your body, softening the sacrum, as your sit bones are lengthened and stretch to your knees.
- Maintain the position for 30 seconds.
- Repeat as necessary.
Is the normal bridge stretch too difficult for you? Grab a firm cushion, foam roller, or similar item and place it beneath your hips while you do the exercise. This will provide less compression to your back and support your efforts!
8. Knee-To-Chest Stretch
This stretch is straightforward, but that’s part of what makes it easy to perform and add to a daily routine. It works by elongating parts of the lower back that usually experience pain and tension.
Here’s how to do it!
- Begin by lying on your back with your feet pressed to the ground and your knees bent.
- Take both of your hands and grasp your right knee with them, then pull that knee close to your chest.
- Maintain the position for 5 seconds while keeping your spine pushed into the ground and engaging your abdominal muscles.
- Return to your starting position.
- Do the same exercise again, this time pulling your left knee.
- Continue to repeat, alternating between right and left, between 2 and 3 times on each side.
Final Thoughts On Some Best Stretches To Ease Lower Back Pain
Back pain can be annoying, but performing stretches daily can slowly but surely undo the worst of the discomfort. Make sure you’re practicing these stretches slowly and gently, without pushing yourself to injury.
If you are experiencing severe chronic back pain, it’s a good idea to talk to a doctor or relevant medical specialist to determine the cause of the problem. Extreme circumstances of back pain will need more than positive thinking, and some stretches to treat!