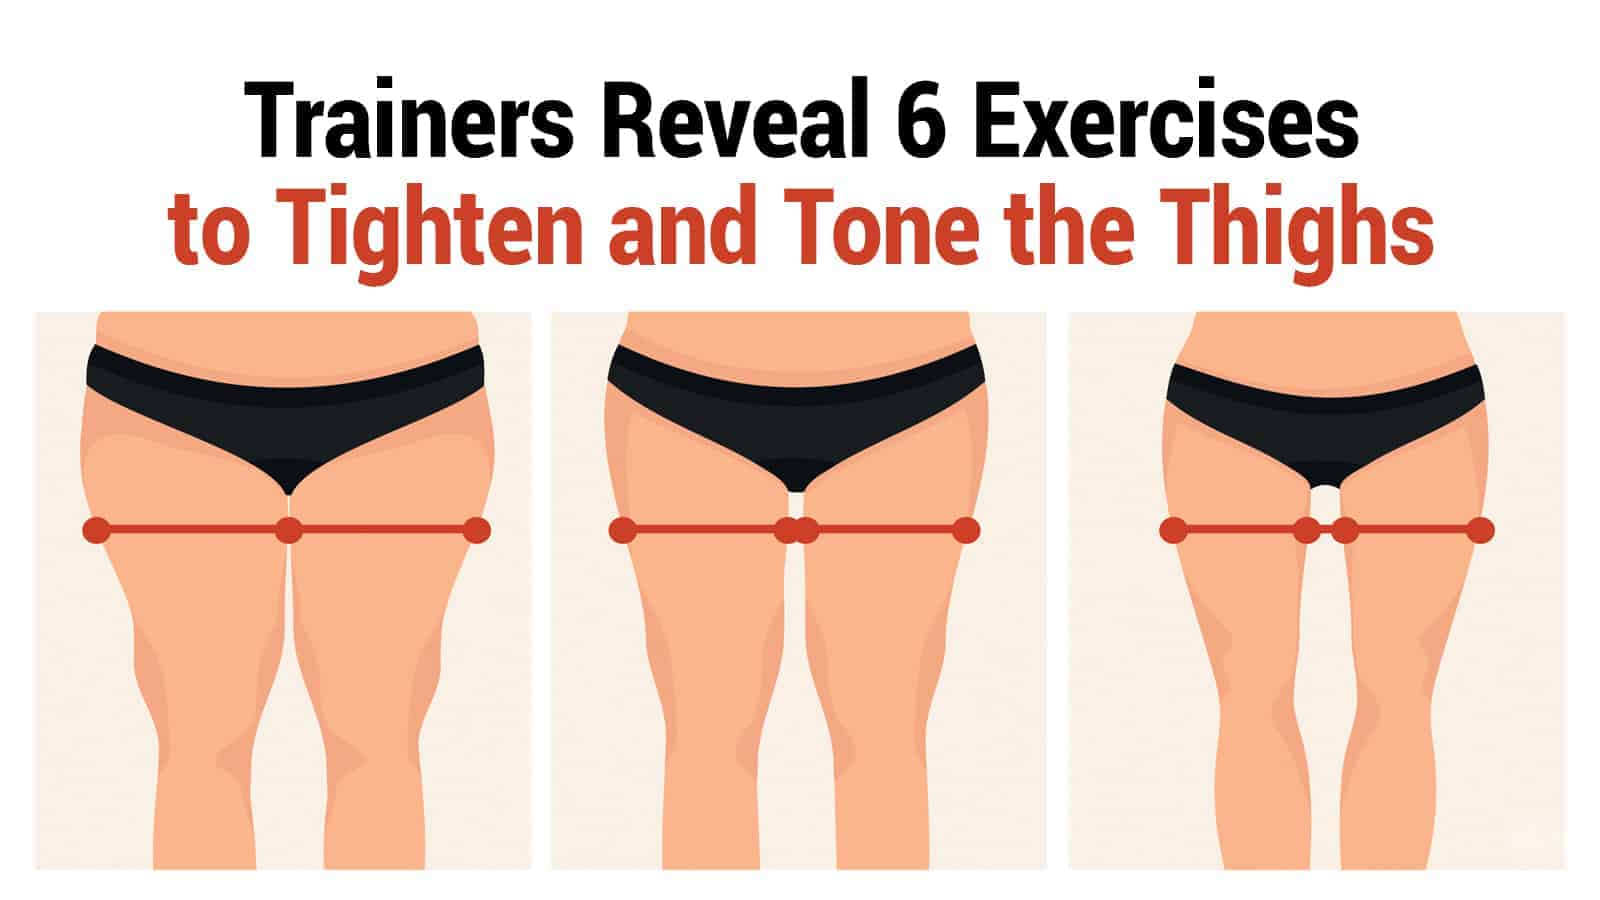
Like everyone else on the planet, you’ve probably got an area of your body that is your Achilles heel. No matter how much you try to eat healthily and exercise, this area clings stubbornly to unwanted fatty deposits. For many, this spot is their thighs… Does this sound all too familiar to you?
Perhaps one of the most challenging areas to sculpt and eliminate the extra fat in are your thighs, which are also called your flanks. Although both men and women can have the dreaded saddlebags, women tend to carry more weight in this area due to childbearing and hormonal influence. Men often store surplus fat in their abdomen to create the iconic and unsightly beer belly.
The Thighs Have It
Whether you are male or female, you want strong, cut thighs that support your body and daily activities, and they make you look good in whatever you wear. The medical term for thunder thighs or saddlebags is gluteofemoral fat. This fatty tissue is considered subcutaneous because it is under the skin.
Conversely, the fatty deposits around your midsection are visceral fat because it forms around the internal organs. Of the two, medical experts warn that excess visceral fat in your midsection is much more a health hazard than extra subcutaneous deposits. Your goal is to get rid of them both so you can have a healthier, leaner body.
Thigh Anatomy 101
As you lose weight and exercise, your flanks are usually the final frontier. While your overweight thighs may be the bane of your existence, your body depends on their strength and mobility. Your flanks are a complex system of some of the most powerful muscles and connective tissue in your body.
These muscles surround your body’s largest bone, the femur, and they connect your upper legs to your hips and your knee joints. In the back of your flanks is the hamstring muscles, and your quadriceps muscles are in the front. These two muscle groups are responsible for bending and straightening your legs.
Your flanks’ insides are powered by your adductor muscles, allowing you to pull your legs in and out from the sides. Injury to any of these three muscle groups can be quite painful and debilitating. Your body needs them to be strong and healthy for optimal mobility.
If you consume more calories than you burn and stockpile extra fatty deposits on your body, your flanks will always reveal your secret. Along with the abdomen, your flanks are among the first places your body will begin to tuck away extra fat. To make matters even more complicated, these major fat storehouses won’t give up their surplus easily, even with diet and exercise.
The Dreaded Bird Leg Syndrome
Maybe you have the opposite problem with your flanks. What could be more frustrating than to lose weight and get your ideal beach body just to look down and see bird legs? Skinny legs, aka the “bird leg syndrome,” maybe hereditary to some degree, but it’s often from a lack of attention to leg exercise.
Like bulging hips and flanks, bird legs can be just as irritating, especially for a guy. The same tips and exercises that can reduce and tone your flanks can also strengthen and build thick muscle. Everyone wants their upper and lower legs to be attractive and proportionate to their bodies, right?
Your Flank Workout Plan
As you do your cardio and other strengthening exercises, don’t forget to take your hips and flanks into consideration. Many times, you can incorporate specific workouts that are targeted to these fatty deposit-prone areas.
1. Stepping Exercises
Are you among the countless fitness enthusiasts across America who strive to get their daily recommendations of 10,000 steps? Here’s a great flank toner that will also strengthen your legs and feet and will help with your steps goal. They are as easy as walking up and down the stairs.
• How to Do It:
If you don’t have a wooden stepping box or a raised platform, the first stair of your staircase will do. Just as you naturally climb stairs, start by pushing off on one foot and put your other foot on the stair or box. Be sure that you are placing your whole foot on the surface, not just your toes.
Now, reverse your movement, and return to the starting point. Do the same back and forth motion using the opposite feet. Try doing these sets for 15-20 reps. You’ll get the same fat-burning benefits if you take the stairs whenever you can instead of the elevator.
2. Heel Lifts
Have you ever noticed how the muscles in your hips and flanks tighten when you stand on your tiptoes? No wonder ballet dancers keep such toned legs. You can get the same benefits as the traditional heel lift exercise. These are also ideal to combine with your stair-stepping by standing on your tiptoes with both feet before dismounting the stair.
• How to Do It:
Begin with your feet flat on your exercise mat about a shoulder-width apart. Then, slowly lift both heels until you are balancing on your tiptoes to count three breaths and return to the starting position.
For an added strengthening bonus, hold a set of dumbbells in each hand, allowing them to hang naturally at your sides. Try to complete three sets of ten reps.
3. Classic Squats
Some of the best exercises for your body were probably learned in high school gym class. Here is a traditional exercise that works your lower back, hips, flanks, and lower leg muscles. Who knew that squatting to the ground could reap such benefits?
• How to Do It:
Start by standing with your feet flat on your exercise mat with your toes pointing forward. Now, slowly squat by bending your knees and hips until your flanks are parallel to the mat. Hold for three breaths and slowly stand to the starting position.
Try to keep your knees in line instead of to the sides. Keep your feet flat on the floor and your back straight for optimal effect. If you have trouble keeping your back straight, you may also do these squats with your back straight against a wall. As you become familiar with this regimen, consider holding a dumbbell in each hand while squatting. Do two sets of 10-15 reps.
4. Leg Lunges
All these exercises, including these lunges, are uncomplicated and natural movements. When you add some weight resistance, you boost your fat-busting benefits. Leg lunges can easily be modified to a smaller step if your knees bother you.
• How to Do It
Stand straight on your mat with a dumbbell in each hand, palms inward, and your arms hanging naturally at your sides. Now, step one foot forward as you bend both knees until your front heel is aligned directly below your knee. Both knees should be bent at approximately 90 degrees.
Hold for 2-3 breaths then work backward to the starting position. Repeat the steps with your opposite leg. The tightness you feel in your leg muscles is a good thing unless it becomes painful, and you should stop. Do three sets of eight reps.
5. Dead Lifting
Resistance is a vital part of building defined muscles and can burn fat in problematic areas, like your flanks. When considering any lifting like this exercise, realize that you are using several muscle groups, and you don’t want to lift more than you can handle. Gradually build your weights up to your maximum lifting capacity.
• How to Do It:
Place two equal barbells on your mat with enough space that you can stand between them.
Stand with your back straight and your legs slightly wider than your shoulders, hands at your sides. Bend your knees and stoop down while keeping your back straight and firmly grasp a weight in each hand.
Now, use your leg muscles to stand straight, raising the weights, and keeping your arms from bending. Hold the position for a couple of breaths and lower the weights into the starting position. Your glutes will be getting a good workout with this exercise, too.
6. Butterfly Pose
If you are a student of yoga, you know how beneficial it can be for your body, mind, and spirit. It combines mindful breathing and gentle movements and poses to stretch and create defined muscles. Butterfly Pose may look serene and restful, but it tones your inner and outer thighs effectively.
• How to Do It:
Sit comfortably on your exercise mat with your back straight, and both legs bent and knees to the side. Gently grasp your ankles and bring the soles of your feet together. Sit in this position for about 2-3 minutes while noticing your breathing, then release your feet.
Final Thoughts on Taking Control of your Thighs
When you practice an active lifestyle, you don’t want your thighs to get in your way. Before you begin these or any exercise regimens, talk to your primary healthcare provider or a professional fitness instructor about what is right for you. When you add these and other thigh-buster exercises to your daily routine, you won’t regret it.
